Here we go!!
Supply List:
(Use double-sided paper)
1 piece cut 8-1/4" x 2- 5/8" (front cover)
1 piece coordinating paper cut 8-1/4" x 2-5/8" (back cover)
1 piece cut 3" x 2-5/8" (front flap)
1 piece coordinating paper cut 2-1/2" x 2-5/8" (bottom)
1 piece 1/4" wide (to cover clothspin)
1 mini clothspin
Strong Adheshive (I use 1/4" scor-tape)
1 5" x 7" notepad cut in half by your local office supply store (do not use Walmart brand-they tend to fall apart)
Here is the notebooks that I use, before and after they have been cut:
Tear the top paper off.
Now it is time to choose your papers:
Coordinate some embellishments:
You will notice that I change my mind along the way!
Cut your paper:
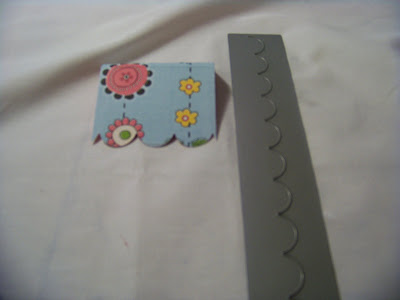
Score your top piece (3" x 2-5/8") along the top edge at 1/2" & 5/8".
At this time I also die cut a decorative edge along the bottom using Papertrey, Inc.'s large scalloped border die.
This is where you start making choices on how you want your project to look-this isn't something you have to do.
Here is what I use to score with:
Now it is time to assemble your project. I cannot express the need to use a good adhesive strong enough! I use Scor-tape. Here is a picture of the 1/4" width. I have already used about 1/2 of the roll and look what is still left! Scor-tape comes in several different widths, is priced reasonably, and last forever.
Here is the order of assembly. Attach your coordinating paper to the back side of the notepad. Then attach your paper to the front. Next attach the front flap over the top, along the back, and on the front. You also attach the bottom piece to the front side. It should look like this:
Here is the back view.
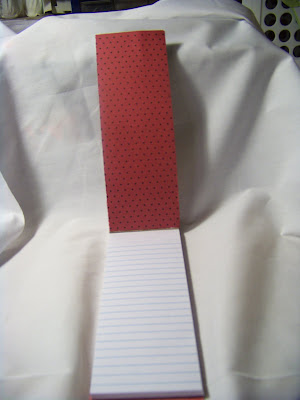
Here are the front and inside views as well as the clothspin:
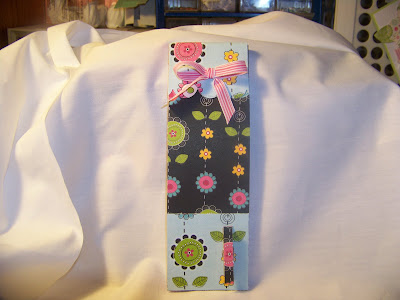
This is also the time when your artistic license comes into play. I kept this simple for the tutorial and just added a small bow to the top. I have done them numerous ways from cute to vintage to fun and simple. Decorate your grocery list any way you want! Let the fun begin!
Before I close I want to show you a picture of another favorite tool of mine. The Bow-easy. I love the way bows turn out when I use this!
Here is the finished product, once again:
I hope you enjoyed my tutoroial! Clip your coupons to the front and shop away! Elle


6 comments:
So professional done, Elle. I love what you have accomplished in such a short time. You are surely going to town on these paper cards. Love the flowers. You did good my friend. Just love it.
Elle, thanks so much for posting this. Now I have a much better understanding of how you make them. Super cool! I like the flowers too. I might have to try that as I have tons of fabrics scraps and need something to do with them.
Very cute, Elle, and your blog background is lovely.
Elle, this is superb! I love it! You did a great job describing everything. I don't have that tape - must get some. I have to try this. Love it!!
WOW!
Your tutorial is great and what fantastic work you do!!!
Thank you so much for sharing with us :o)
Hugs, Candy
cute as can be! great tutorial...helpful info!
TFS!
Pam Going Postal
Post a Comment