Followers

Saturday, July 31, 2010

Grocery List Tutorial

Bear with me this is going to be a long process!  I have never done a tutorial  before so I am winging it.  Along the way I thought I would show you pictures of some of tmy "tools of the trade".  Enjoy!  If you have any quesitons contact me at michellekk46@sbcglobal.net.
Here we go!!
Supply List:
(Use double-sided paper)
1  piece cut 8-1/4" x 2- 5/8" (front cover)
1 piece coordinating paper cut 8-1/4" x 2-5/8" (back cover)
1 piece cut 3" x 2-5/8" (front flap)
1 piece coordinating paper cut 2-1/2" x 2-5/8" (bottom)
1 piece 1/4" wide (to cover clothspin)
1 mini clothspin
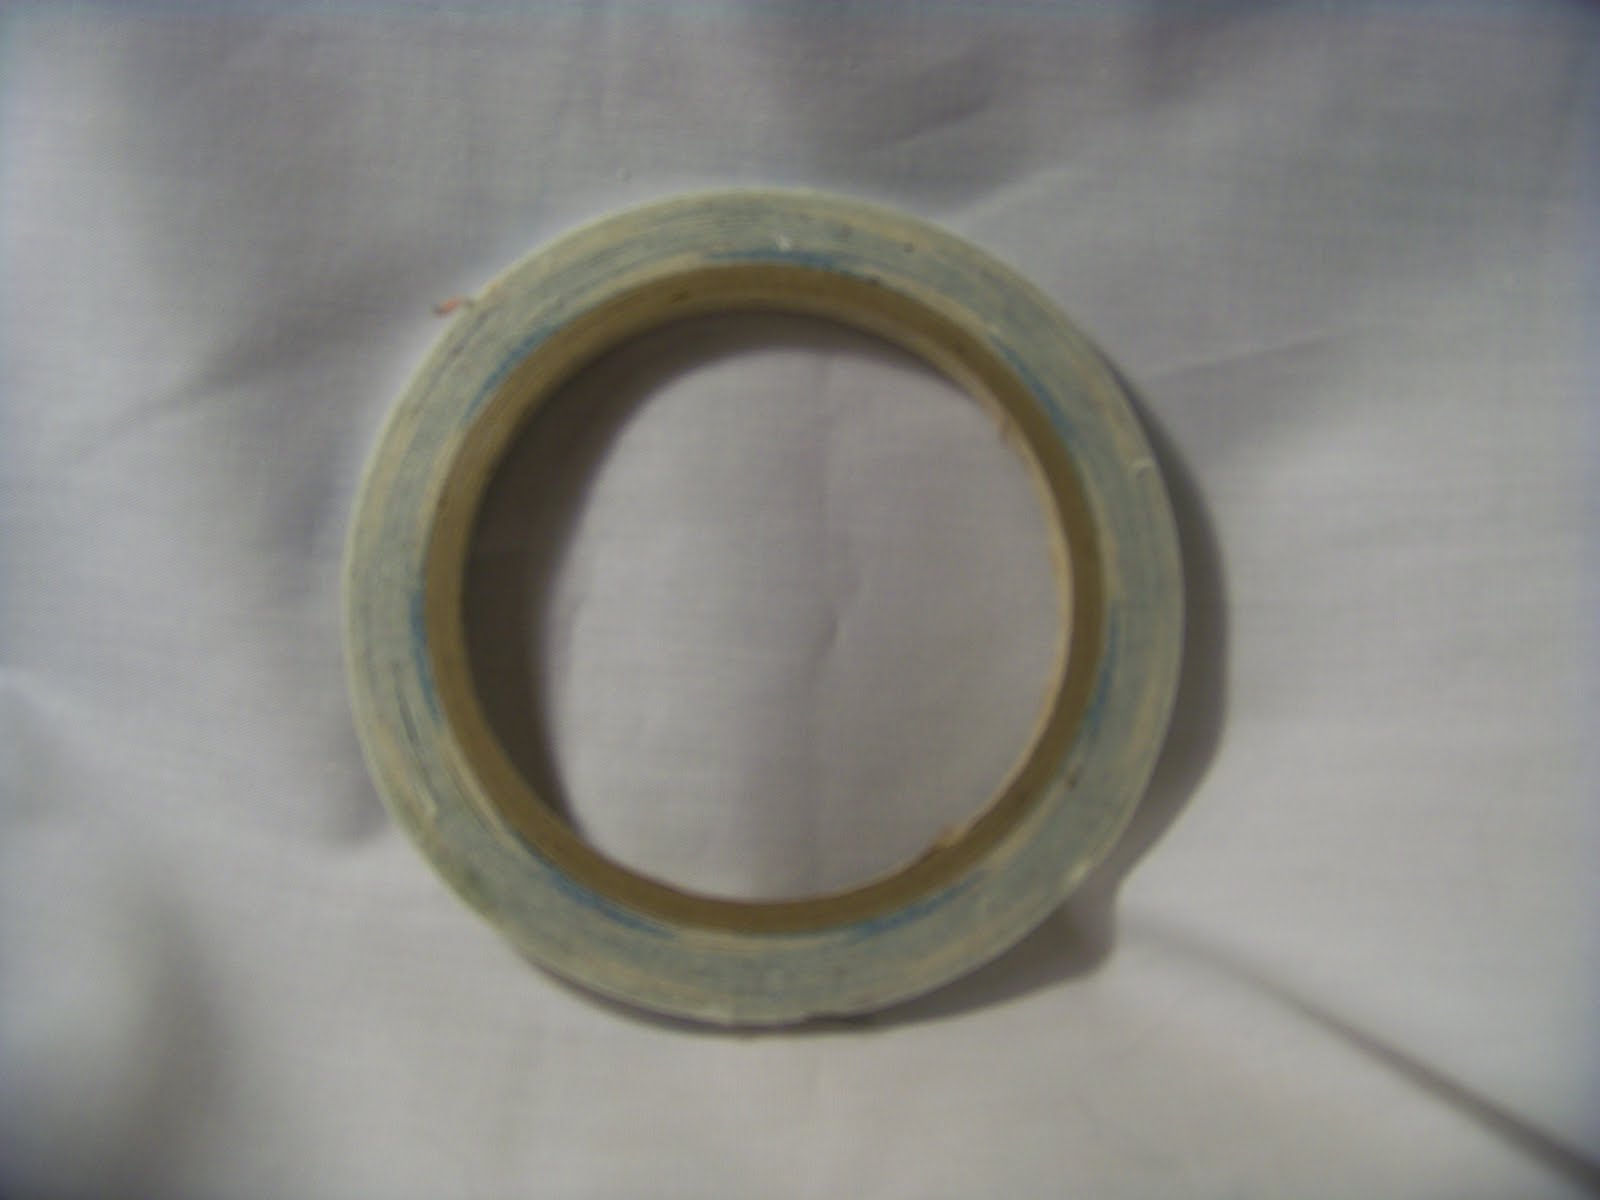
Strong Adheshive (I use 1/4" scor-tape)
1 5" x 7" notepad cut in half by your local office supply store (do not use Walmart brand-they tend to fall apart)

Here is the notebooks that I use, before and after they have been cut:

Tear the top paper off.

Now it is time to choose your papers:

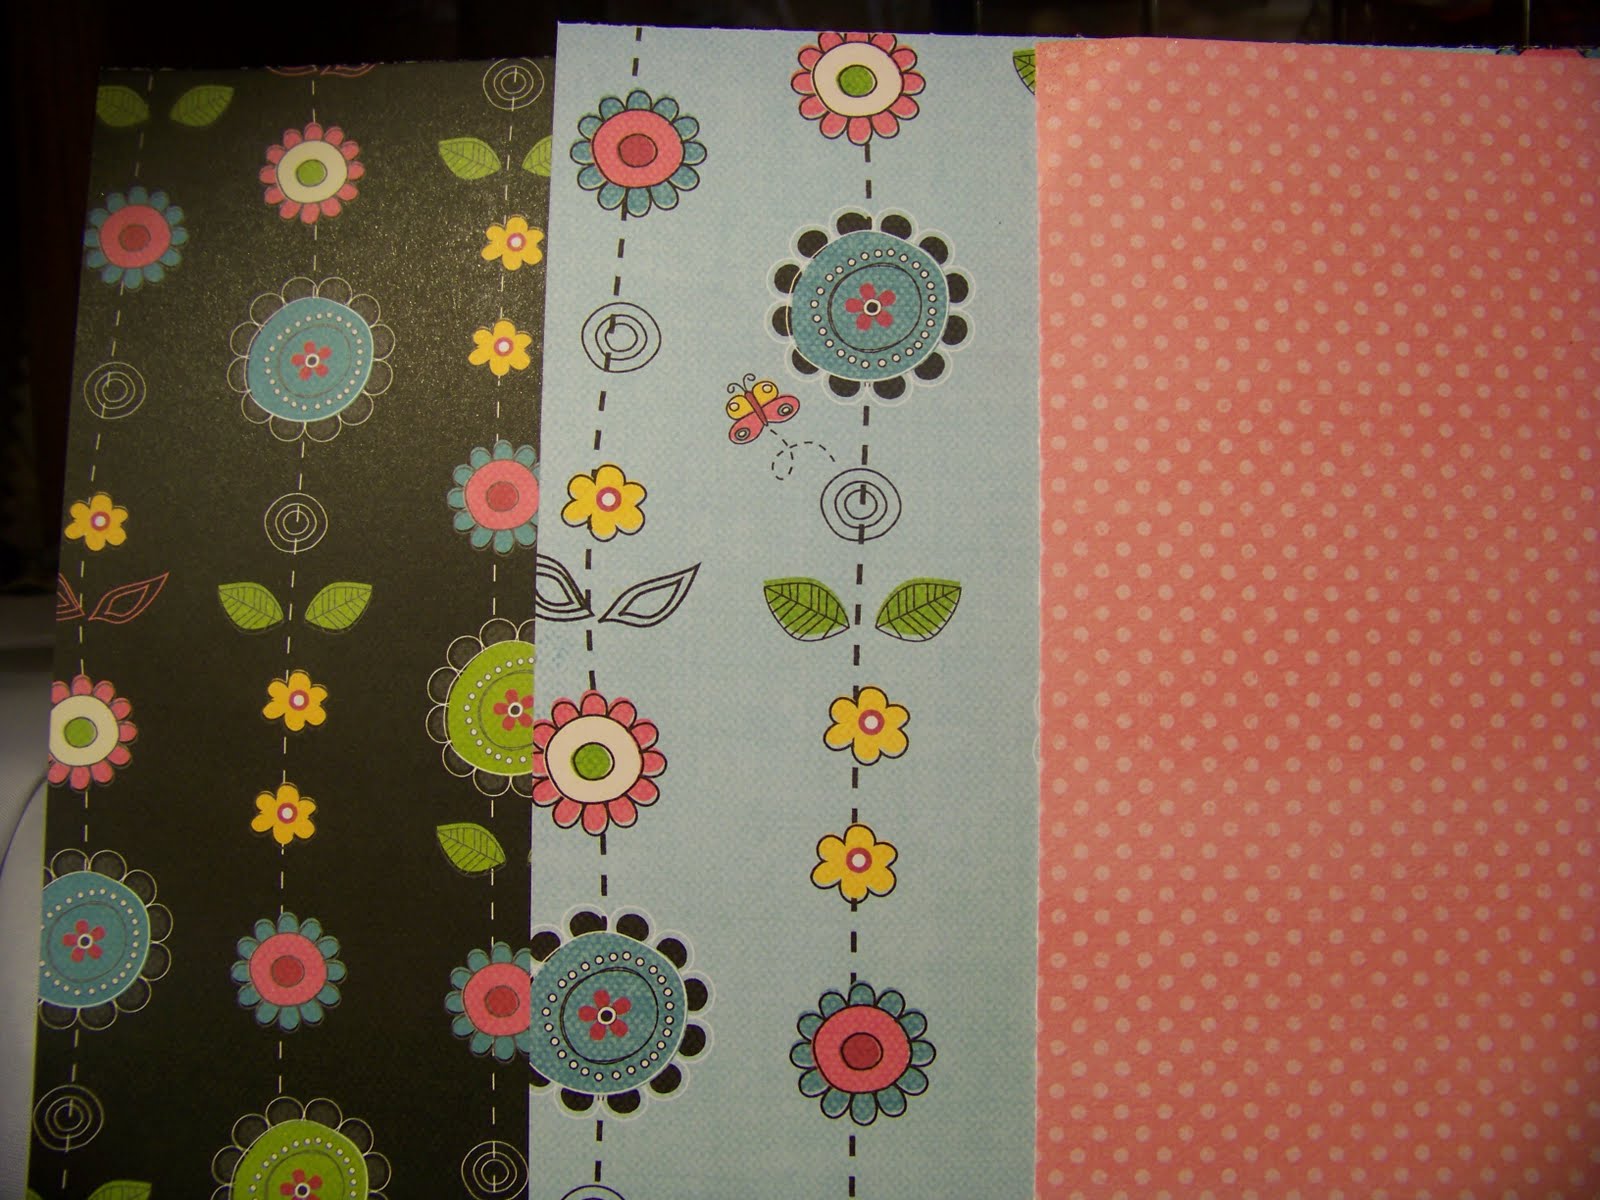
Coordinate some embellishments:

You will notice that I change my mind along the way!
Cut your paper:


Score your top piece (3" x 2-5/8") along the top edge at 1/2" & 5/8".
At this time I also die cut a decorative edge along the bottom using Papertrey, Inc.'s large scalloped border die.
This is where you start making choices on how you want your project to look-this isn't something you have to do.


Here is what I use to score with:

Now it is time to assemble your project.  I cannot express the need to use a good adhesive strong enough!  I use Scor-tape.  Here is a picture of the 1/4" width.  I have already used about 1/2 of the roll and look what is still left!  Scor-tape comes in several different widths, is priced reasonably, and last forever.


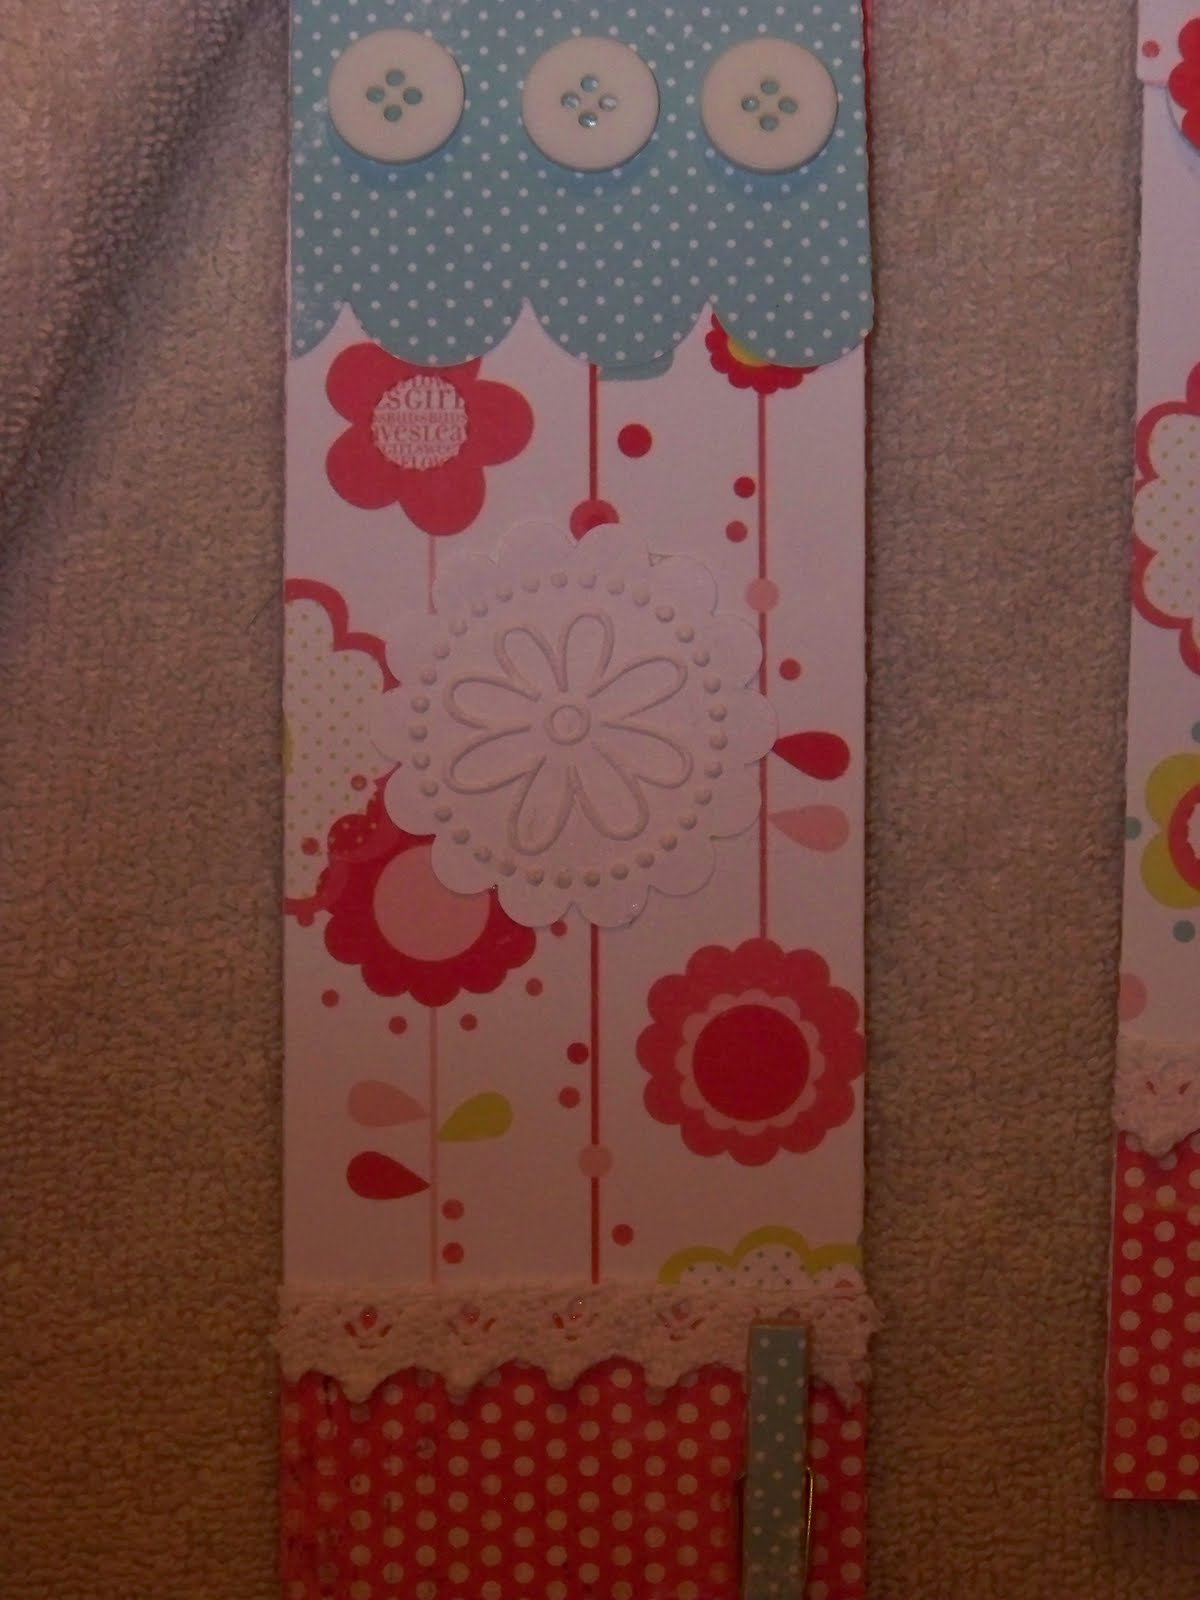
Here is the order of assembly.  Attach your coordinating paper to the back side of the notepad.  Then attach your paper to the front.  Next attach the front flap over the top, along the back, and on the front. You also attach the bottom piece to the front side.  It should look like this:
Here is the back view.

Here are the front and inside views as well as the clothspin:


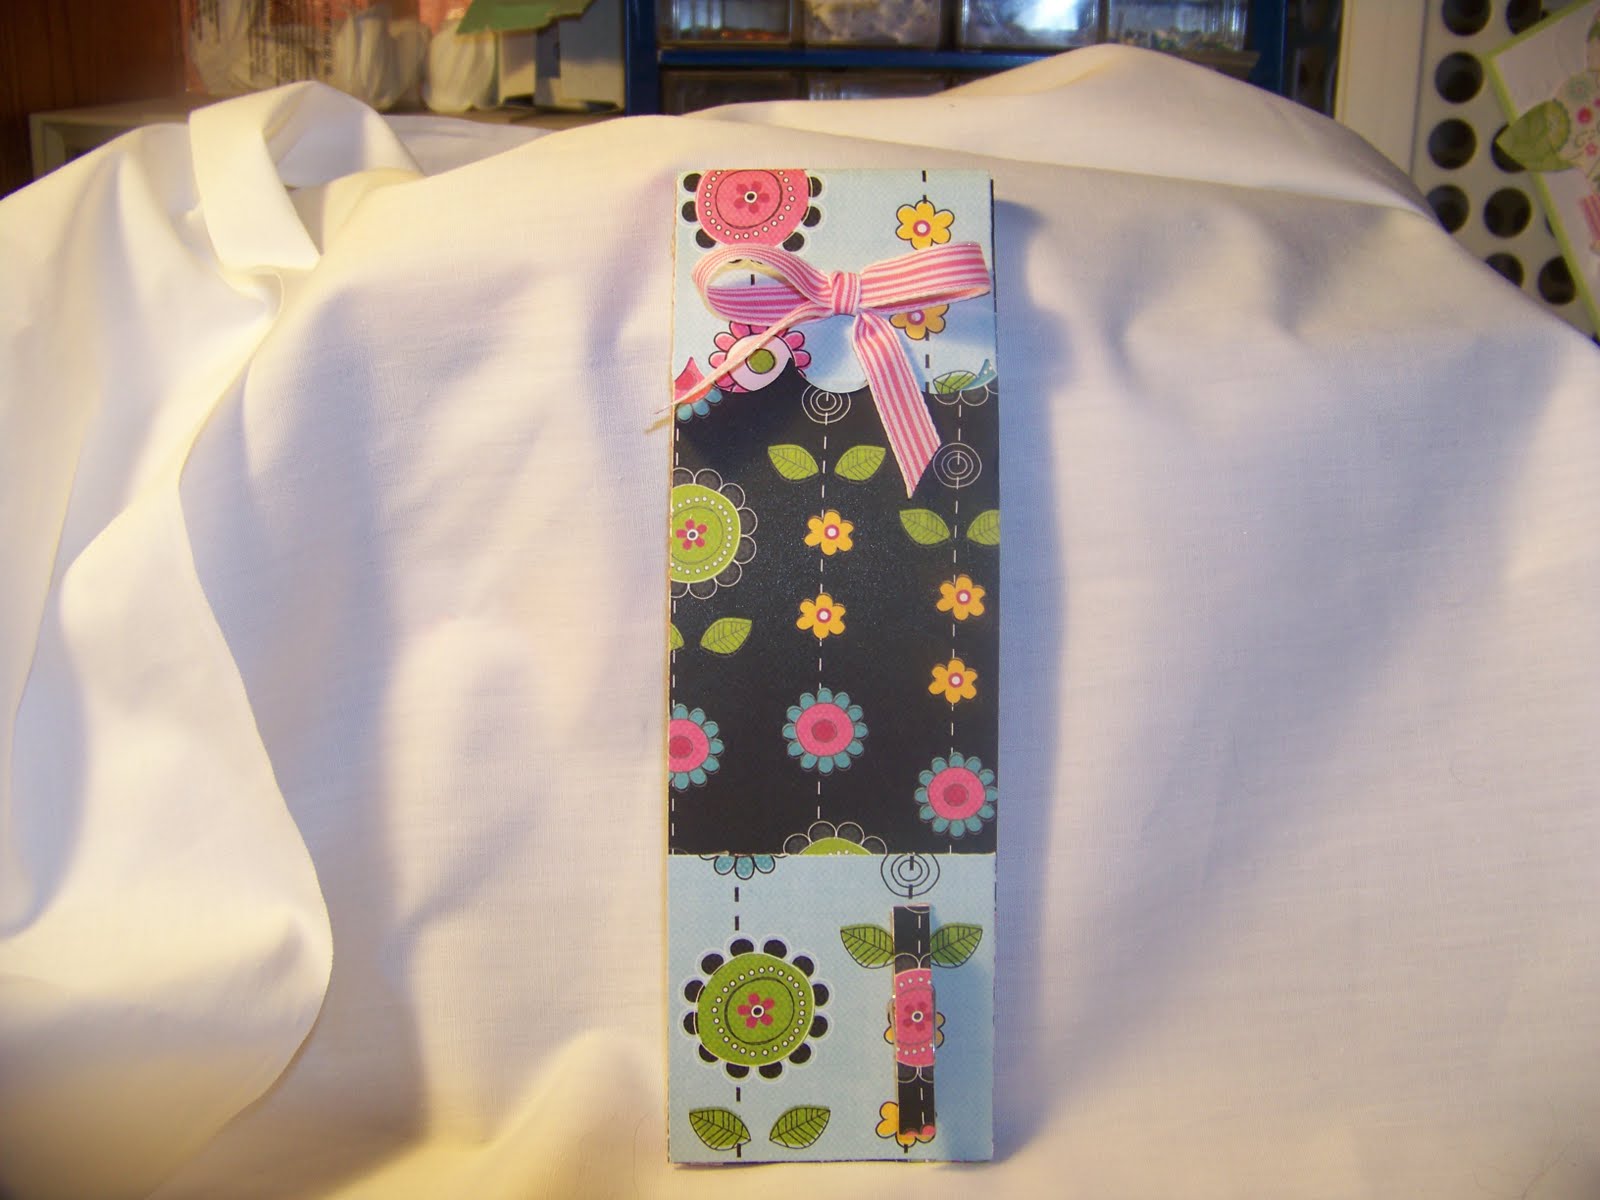
This is also the time when your artistic license comes into play.  I kept this simple for the tutorial and just added a small bow to the top.  I have done them numerous ways from cute to vintage to fun and simple.  Decorate your grocery list any way you want!  Let the fun begin!
Before I close I want to show you a picture of another favorite tool of mine.  The Bow-easy.  I love the way bows turn out when I use this! 

Here is the finished product, once again:

I hope you enjoyed my tutoroial!  Clip your coupons to the front and shop away!  Elle

Friday, July 30, 2010

Kanzashi Flower Pin

I was putsing around the fabric store the other day and ran across some samples of Kanzashi flowers.  They were stunning and oh so fun!  Mind you, I am all thumbs when it comes to hand sewing, and even more so when it comes to Origami, but I thought I would give it a try.  I proceeded to cut some 3" x 3" square fabric swatches and fold away.  Here is my first attempt.  I made this one into a pin to wear on my label.  I am already trying to come up with little ideas for Christmas presents-wouldn't these be festive in pretty Christmas print fabrics?  How about vintage dark green organza with gold pearls in the center?  I would describe how to make these but you would be better off googling Kanzashi flowers for directions!  I'm off to the swimming pool with the kiddies.  Enjoy your day~!  Elle

Wednesday, July 28, 2010

Yummy New Tilda Recipe Card

I have another new recipe card to share with you.  The recipe is DELISH!  You have to try this one!  I used a Magnolia Tilda stamp, Dahlia Nestabilities for the flower, buttons and various papers.  The bottom is punched with a EK punch.  Love that border but it is hard to adjust to when you first use it.  I spilled Soda on the paper that I wrote my Copic colors on so this time I won't be able to provide that for you.  I used Stickles on her wings.  I enjoy making these and have quiet the collection growing.  Elle
Coloring my "girls" with Copic markers.

A close-up of the flower and the punched border.

I'm still working on my Copic skills! 

My finished piece.  Enjoy this recipe! 

Monday, July 26, 2010

What I am working on!

I just wanted to drop in to let you know that I am working on some REALLY fun projects!  You can expect a tutorial on how to make the Grocery Lists as well as a yummy new recipe card.  I can't wait to share this new recipe with you-SOOOOOOOOO GOOOOOD!  I will be posting in the next few days.  Off to work in the my studio.  Elle

Saturday, July 24, 2010

A chance to win!

Bev at http://bevscrafts.blogspot.com/ is giving away this adorable Magnolia Tilda stamp.  For a chance to win hop on over to her blog!  Tell Bev that Elle Kasban sent you!

Friday, July 23, 2010

Sweet Ole' Summertime

When I saw this stamp from WhipperSnapper I know I just HAD to play with it!  Doesn't the paper fit perfectly?  I purchased both at The Ink Spot-a store in a quaint part of Kirkwood, Missouri.  After coloring with some basic Copic primary colors I added Crystal Effects for the water.  I then picked out some buttons and some twine - you know how I love those buttons!  I used my BowEasy bowmaker to make a pretty bow and punched out a hole in the center using my Crop-A-Dail tool.  It sure does punch thru anything!  Added a large brad and voila'! 

When I have little scraps of paper I often use them up by covering clothspins.  I use scor-tape to adhere the paper on both sides them embellish as desired again using scor-tape so they don't come off.  There are soooooooo many uses for these!  Love to all and Happy Summertime! Elle

Games People Play

I wanted to share with you a card I put together for "Games People Play"-another one of the swaps on Art For The Creative Mind. 
Here is the back side of the card:

Thursday, July 22, 2010

Framed Picture


This is the framed picture that I have been working on.  I needed something for my bookcase in the livingroom and thought that this hit the spot!  I purchased the charm and the stamp from REDLEAD here in St. Louis.  (you HAVE to visist their online store!  RedLeadStore.com). I had the papers in my stash already-purchesed at a store called Checkered Cottage.  The crinkle ribbon I made myself.  I found a real pretty matt pattern to trace and cut out behind the stamped image.  I think the shape is so pretty.  I then got out the ole' Cuttlebug and cut some shape out to make my flowers.  I scrunched and played with them until I got them how I liked.  Added some punched out leaves and some vintage trim to complete my picture.  What do you think?  Elle

Mad Scientist Experiment!

I thought I would show you pictures of my Mad Scientist Experiment.  Talking about getting "down and dirty"!  I love making my own embellishments whether it be flowers, buttons, paper piecing or fibers.  Since I had signed up to participate in a Fiber swap with Art For The Creative Mind I thought that I would make my own fibers.  You may have been seeing some of the beautiful dyed crinkle ribbons being offered on Etsy and featured on different projects as you browse different blogs.  These are made by hand dying seam binding.  ZIPPERSTOP is a company that sells this product in 100yd. bolts - I think I paid about $11 for mine which included the shipping and handling.  Although they have hundreds of colors I would suggest white or cream.  You start by cutting lengths of ribbon (I used approx. 5yrd. lengths) and misting it with water just to dampen.  You keep picking it up and turning the bunch for even saturation.  Then it is on to the pretty colors.  I used one-three shades of the same color family on some of them and Angel Mist Marshmellow for a glimmer effect over some of the colors.  I mixed concoctions, watered down some colors, and played away!  When you are satified with what you have, wad it up in a ball and stick it into the bottom corner of a Ziplock type bag, twisting around it and tying off to hold it tight.  I then leave it overnight.  The next morning you take it out-don't worry it will still be somewhat damp.  Fluff it out and let it dry.  Voila'!  Here are some pictures of my supplies and some of the scrumpdilisious colors I came up with so far.  Yummy!


Above is a picture of the seam binding that I used.
My mad scientist experiment-you should see the color of my hands!  I couldn't find my surgical gloves-oh well!  That is part of the fun of it. 
Aren't they delicious?  You will begin seeing me use them on some upcoming projects!  I wonder what color I will be sending in for my Fiber swap?  Hummmmm.  Happy day to all!  Elle

Wednesday, July 21, 2010

Wait Until You See!

Wait until you see what I have been up to!  I haven't posted for a few days because I have been so busy playing in my studio.  I have been mixing concoctions and getting down and dirty!  That is the only hint you will get!  Stay tuned for pics in a few days of my new creative adventures.  Tomarrow is my Birthday and I will be taking a day off but I will post again with my finished items after that.  Elle

Monday, July 19, 2010

A few things I have been Playing with

Here are a few things that I have been playing with this morning.  I had to make some Artist Trading Cards that included both embossing and dots/circles.  Here are a few I came up with:
One of my favorite sets from Papertry Inc-Vintage Picnic!
The flower is made from pages of one of my favorite old books!

A Tim Holz stamp that I LOVE!

Now I want to share with you a couple of tags that I made.  Again, products from Papertrey Inc. as well as an angel stamp from the Lockhart Company.  See what you think!  Elle

I must learn to take better pictures! 

Sunday, July 18, 2010

New Grocery Lists

I have been taking a break from my craft obligations to put together some new Grocery Lists that I stash away to give as gifts.  This time I pulled out some papers from my stash, some buttons, some trim, tiny clothspins to use to clip on your coupons, and my Cuttlebug with a small embosslet.  I love the simplicity of these designs, don't you?  The front and back measurements are 8" x 2-5/8".  These are 5 x 7 notebooks cut in half at my local office supply store.  If you decide to make some yourself be careful who you have cut them.  I have had some ruined because they were not cut in a straight line.  Enjoy!  Elle
Notice the clothspin attached at the bottom?

Below is another style with different paper and buttons at the top.

Saturday, July 17, 2010

Sharing some Art

This afternoon I am sharing the Black and White tags that I received in the swap with the group Art For The Creative Mind-if you love to swap and are into learning and stretching yourself artistically then this is the group for you.  I have already posted what I sent to my partner.  Now I am posting what I received for a great artist, Linda Reid.  These are SOOOOOO Beautiful.  I am simply blown away by them.  Pictures do them no justice but I wanted everyone to see what unbelievable work my online friend created for me.  Enjoy!  Elle

See what I mean?  I will be hanging these from my rearview mirror in my SUV so I can enjoy them at every stop light! 

Yesterday and Today

Yesterday and today have been filled with the mundane activities that life demands of us.  Drs. appointments, taxi cab service, cooking, folding laundry.  Now you have to remember, even walking is hard for me right now and I am still working hard to build my strength back up from being homebound and partially bedridden for the greater part of this last year.  The anniversary of my automobile is coming up on August 19th and I think I will throw myself a party.  Whoppie pies for all!  I love to entertain and be creative with my decorations.  I will need a centerpiece and some napkin rings.........cupcake liners..........party favors........I think I will buy some Matchbook cars for the kids and the adults with bandages on them.  Wouldn't that be a hoot?   My mind is churning once again.  No, I won't be able to accomplish all that I want to but I sure can have some fun coming up with the ideas!  Do you ever do that yourself?  I don't have any projects to share with you today but will soon.  I have a image swap to complete and another swap for my group, Art For The Creative Mind.......dots and circles......some embossing required.  Sounds easy, right?  For some reason I am a little stumped with this one.  Lord only knows what I will come up with.  I am anxiously awaiting an order of 100 yds. of white seam binding so I can dye my own ribbons (crinkle ribbon, that is).  Gosh, how I love the ideas you can find on the internet!  I hope all is well with everyone out in cyberland.  Elle!

Thursday, July 15, 2010

Black and White Tags


For my group Art For the Create Mind we had to make two black and white tags.  For one I chose a serene feel with a father and son at the beach from Stampin'Up.  For the second one I used a flower stamp from Papertrey Inc. which I layered then added some Crackle finish then distressed it just a bit to bring out the crackle.  Simple is sometimes best, don't you think?  Elle

Wednesday, July 14, 2010

What I did with the Tilda Image

I promised that I would post what I did with the Magnolia Tilda image that was in the step by step post earlier and here it is!  I wish you could see it in person.  I took some Tattered Angels Glimmer Mist in Marshmellow and misted the whole front of the card giving it just the right touch.  The camera doesn't pick it up real good.  I decided to add a Pewter flower charm that I had bought 40 of on ebay tied with sweet lilac ribbon that I also laced through the crochet trim at the bottom of the card.  Cut out my image using a Nestibilitie Die and but all of the elements together.  One of my favorites so far!  Elle

Tuesday, July 13, 2010

Everyday Button Bits

I have wanted the Everyday Button Bits stamp set from Papertrey Inc. for the longest time and I finally broke down and purchased it.  Each month I have an alotted amount of money to spend on my "obsession" and I have been buying their Vintage Buttons as well as some of their stamp sets.  Well, it came yesterday afternoon and I couldn't wait a minute more to play with it!  I have been thinking alot about my life lately.  Lightening it up.  Changing my outlook. To simply "Enjoy the ride." seemed like the perfect philosophy to follow.  Enjoy my life.  Don't sweat the small stuff so much.  I love the bicycle!  I had some paper that I have been wanted to use and one of my favorite color combinations is red, yellow, and light blue.  After stamping the bicycle in black Memento Ink, I used vintage thread to "sew" the tires on.  I decided that a Vintage cream background was just what this card needed.  I then die cut the bottom of the striped paper using their large scalloped edge die.  I added a strip of the flag paper with some red rick-rack  along the top edge that divided the two papers.  It needed more and you know how much I love those buttons!  I attached alternate colored buttons along the scalloped edge then stamped my sentiment.  I think I will send this card off to a friend who is also in the mist of contiplating her own life.  Enjoy the ride!  Elle

Monday, July 12, 2010

Happiness Ahead

Happiness Ahead-isn't that a beautiful saying?  RedLead store in St. Louis has all of these small one or two word sayings that are so great.  Google RedLead and check out their website.  Very Vintagey feel.  Today I had to make a card that included Dragonflies and/or Butterflies.  I have had this stamp for some time and never had the chance to play with it.  I decided to try watercoloring with re-inkers.  I am loving the way it turned out!  I added Crystal Effects to the top of it and sprinkled just a tiny amount of fine glitter.  After seeing something like it in the new Stampin'Up catalog I sat down and made a couple of yo-yo flowers with tiny pearl centers.  I usually like adding an odd number of embellishments to my cards but three didn't look right.  I then attached some vintage white crochet trim to the bottom of the card to soften the edges.  I went a little overboard with the pink ink around the card so I needed ot tone it down some.  I view each project I tackle as a learning experience.  I had such fun with the watercoloring that I think I will sit down in the next day or two and "play".  OH!  If you haven't checked out Papertrey Inc. lately wait until you see the new stamp/dies that are being released!  Just when I receive my order they come up with something else I HAVE TO HAVE!  Gee whiz, I sure do admire others and their artistic visions!  Glad you could join me today.  Elle